
A precise carpet cut begins before the blade touches the floor. The Carpet Cutter, the blade condition, and the way the material is supported all affect the result. A dull or poorly positioned blade can snag the pile, leave a ragged edge, or wander away from a marked line. Small errors matter. They can show at seams, doorways, and along baseboards.
These ten practical tips focus on preparation, control, and careful checking. They cover choosing a suitable cutter, marking measurements clearly, securing the carpet, and guiding each cut with steady pressure. A straightedge can help, but it should be stable and appropriate for the job. Always follow the cutter maker’s instructions, keep hands clear of the blade path, and replace blades when they drag rather than cut cleanly. Test the technique on a carpet offcut first. It takes a moment.
Experience also teaches restraint. Pressing harder is not always better; several controlled passes may protect the backing and reduce fraying. Check the pile direction and the underside before cutting, since carpet construction varies. Even careful work can need a second look. A measurement that seemed exact may shift when the carpet relaxes or is fitted around a corner. These tips aim to make clean cuts more repeatable, while leaving room to pause, inspect, and correct the approach when the material behaves differently than expected.
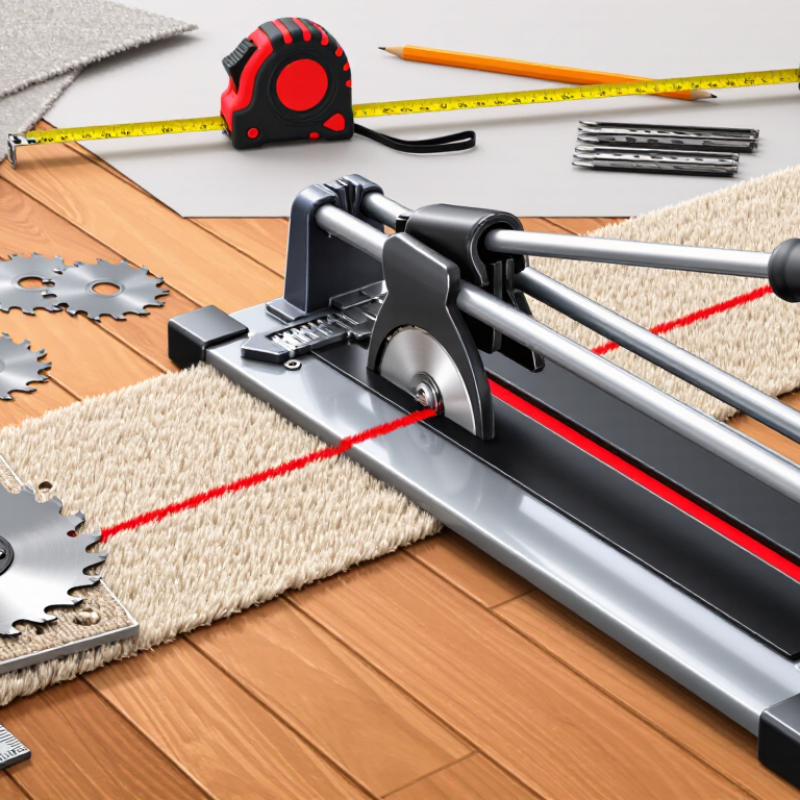
Carpet cutters differ in how they hold the blade and guide it through the pile. A standard utility knife is versatile, but its narrow blade can wander if you rush a long cut. A dedicated carpet knife often has a shaped grip that helps keep your wrist steady. For trimming around door frames, a hooked blade can catch the backing while leaving the visible pile less disturbed. It is not ideal for every job, though; thick or stiff backing may need a straight blade and several controlled passes.
Blade choice matters as much as the handle. Use a sharp blade for cleaner edges, and replace it when the cut begins to drag or fray. Dull blades invite extra pressure. That can make the knife slip. Retractable cutters offer a way to cover the edge between cuts, while fixed-blade tools can feel more stable for repeated trimming. Check that the blade is seated securely before starting. Cut from the back when practical, and test the tool on an offcut first. I still find that carpet fibers can hide a crooked line until the piece is turned over, so measure twice and keep the first pass light. A perfect-looking cut is not guaranteed; carpet backing varies more than it seems.

A clean cut starts before the cutter touches the carpet. Unroll the material on a flat, dry surface and let it relax if it arrived tightly rolled. Brush away grit that could shift the carpet or mark its backing. Check the pile direction, especially when matching a doorway or joining another piece. The fibers can look different when turned the other way. Small detail, big difference.
Measure the space at several points; walls and corners are rarely perfectly square. Use the longest measurement as a guide, then mark the cut line on the backing with a straightedge and a fine marker. Measure twice. It sounds obvious, but a rushed pencil mark can cost more carpet than a slow cut. Leave a little extra material where the edge must fit against a wall, then trim it gradually during fitting. For a straight line, keep the straightedge firmly in place and use a sacrificial board beneath the carpet to protect the floor. Check that the carpet has not crept or buckled before cutting. It happens. If the line looks wrong, stop and remeasure instead of trying to correct it with a deeper cut.
Set the blade so its tip passes through the carpet backing, but only barely. Too much exposed blade can score the floor or snag fibers. Too little may leave backing attached, forcing you to pull and tear the edge. Test the setting on an offcut first. Check the underside after each pass; a clean slit should separate without heavy pressure.
Tip: Use a flat, sacrificial cutting surface, such as a sheet of plywood beneath the carpet. Keep it steady and clear of grit, which can catch the blade or mark the carpet face. Cut with the pile side down when practical, and guide the cutter along a straightedge. Keep fingers behind the blade path. Replace a dull blade rather than pressing harder.
Carpet thickness varies, even within one roll. Adjust the depth in small steps, then make a short test cut near an edge. It is easy to over-adjust when a cut feels rough; sometimes the surface is uneven, not the blade setting. If the backing still holds, inspect the cut and reposition the carpet before applying more force. A slightly slower pass often gives a cleaner edge.
A straight carpet cut depends on a stable guide and a clear view of the cutting line. Lay the carpet flat, smooth out wrinkles, and mark the line on the backing with chalk. If you can, cut from the backing side; the line is easier to follow, and the pile is less likely to snag. Place a metal straightedge along the mark and press it firmly without shifting the carpet. Slow is smoother.
Hold the cutter at a consistent angle and keep the blade against the guide. Use light pressure, letting the sharp edge do the work rather than forcing it through thick backing. On deep pile, part the fibers along the line before cutting, so they do not bunch beneath the blade. Keep your free hand behind the cutting direction. Replace a dull blade; it tends to drag and wander. Even careful cuts can drift slightly, especially near a corner. Pause, realign the guide, and check the edge before continuing.
For a long cut, work in short, controlled sections instead of reaching across the carpet. Move the straightedge forward, overlap the previous cut slightly, and confirm it still follows the chalk mark. Trim conservatively. A narrow gap is hard to hide, while a small amount of extra material can still be removed after checking the fit.
Guiding the Cutter for Straight, Controlled Cuts
The chart groups ten practical tips by workflow stage. Counts show how many tips are assigned to each stage, not measured performance results.
A carpet cutter can leave a ragged edge before the blade looks obviously dull. Check the cutting edge under bright light, without running a finger along it. Look for chips, a rounded tip, or dried adhesive. A clean blade should slice a carpet offcut with steady, light pressure. If it snags, frays the backing, or needs force, replace it. Do not test it on your hand.
The U.S. Bureau of Labor Statistics reported 2.6 million nonfatal workplace injuries and illnesses in private industry in 2023, with a rate of 2.4 cases per 100 full-time workers. These figures cover many hazards, not carpet cutters alone, but they underline why small, repeatable precautions matter. A slipping tool can turn a routine trim into a hand injury.
Before changing a blade, retract or lock it and set the cutter on a stable surface. Keep fingers behind the cutting edge and use the tool’s intended blade-change method. Seat the replacement blade fully, then secure the holder before cutting. Dispose of the old blade in a puncture-resistant container. I still find it easy to rush this step when a job is nearly done; that is exactly when a deliberate pause helps.
| Step | Task | What to Check | Practical Action | Safety Note |
|---|---|---|---|---|
| 1 | Prepare the work area | The carpet is supported on a stable, clean surface with enough room to guide the cutter. | Move loose items away and use a suitable cutting surface to protect the floor beneath the carpet. | Keep hands and feet clear of the cutting path. |
| 2 | Inspect the carpet edge | Look for fraying, loose yarn, curled backing, or an uneven factory edge. | Mark the intended cut line with a straightedge before trimming; avoid using a damaged edge as a guide. | Keep the carpet flat so it cannot shift unexpectedly. |
| 3 | Check the cutter and blade | The handle is secure, the blade is seated correctly, and there is no visible rust, damage, or looseness. | Use a cutter and blade designed for the material and follow the tool maker’s instructions. | Do not use a cracked handle or a blade that does not lock securely. |
| 4 | Mark a straight cutting line | The line is clear, measured, and aligned with the desired carpet edge. | Use a straightedge as a guide and confirm the measurement before cutting. | Keep fingers away from the edge of the straightedge and the blade path. |
| 5 | Make controlled passes | The carpet remains flat and the cutter follows the marked line without snagging. | Apply steady pressure and use more than one controlled pass if the carpet is too thick for a clean single cut. | Cut away from your body; do not force the blade through resistant material. |
| 6 | Inspect the cut edge | The edge is even, with no missed fibers, torn backing, or loose sections. | Trim small irregularities carefully rather than pulling at loose yarn or making a rushed deep cut. | Retract or cover the blade when pausing to inspect the work. |
| 7 | Recognize a dull blade | The cutter drags, snags fibers, needs unusually high pressure, or leaves a ragged edge. | Stop and replace the blade instead of pushing harder; a sharp blade generally cuts with less effort. | Do not test sharpness by touching the blade edge. |
| 8 | Prepare for blade replacement | The cutter’s blade-release method and replacement instructions are understood. | Retract the blade, place the cutter on a stable surface, and use only a compatible replacement blade. | Keep the new blade and any fasteners away from children and pets. |
| 9 | Replace and secure the blade | The blade is oriented correctly and fully secured before the cutter is used again. | Handle the blade by its blunt edges where possible, follow the tool instructions, and check that the mechanism locks. | Never hold the cutter toward yourself while installing or tightening a blade. |
| 10 | Store and dispose safely | The cutter is retracted or covered, and used blades cannot cut through ordinary handling. | Place used blades in a puncture-resistant sharps container and follow local disposal guidance. | Do not leave an exposed blade on the floor, work surface, or in an open waste bin. |
Sierramotion engineers help customers design solutions to complex motion problems. Whether a simple coil, or a precision motion assembly working in vacuum, Sierramotion has the experience to create a solution that works the first time.